
Keeping your pruners in tip-top shape involves regularly cleaning the parts and sharpening the blades. Not only does regular sharpening prolong the life of your shears, but maintaining the sharpness of the blades allows you to make cleaner cuts and minimize damage to your plants.
Supplies You’ll Need
The main tool you need is a sharpener, such as a blade sharpener, a metal file, or a sharpening stone. Most gardeners prefer using a blade sharpener since it's easy to maneuver.
Steel wool is optional, but if you notice any rust appearing on your shears, you should buff it off before proceeding.
To prevent blades and the steel parts of your pruner from rust, you may choose to use a multi-purpose oil or WD-40.

Before Sharpening
Before you sharpen your garden shears, thoroughly clean the blades and the individual parts. Remove any sap or dirt that has built up over time in order to avoid any debris from getting in the way while you’re sharpening the blade.
To thoroughly clean your shears, you should disassemble each part and remove the dirt by washing the parts with warm water and soap. If necessary, use a cleaning brush to scrub any stubborn dried sap or dirt. If your pruners are rusty, use a steel wool or wire brush to buff any remaining sticky sap or thick rust spots.
Once you’ve removed the dirt, debris, and rust, rinse your pruners and dry them with a clean cloth. Reassemble your pruners and make sure that every part is clean and dry before you proceed with sharpening.
How to Sharpen
Once your pruning shears are clean and free from rust, use your preferred sharpening tool to sharpen the blade.
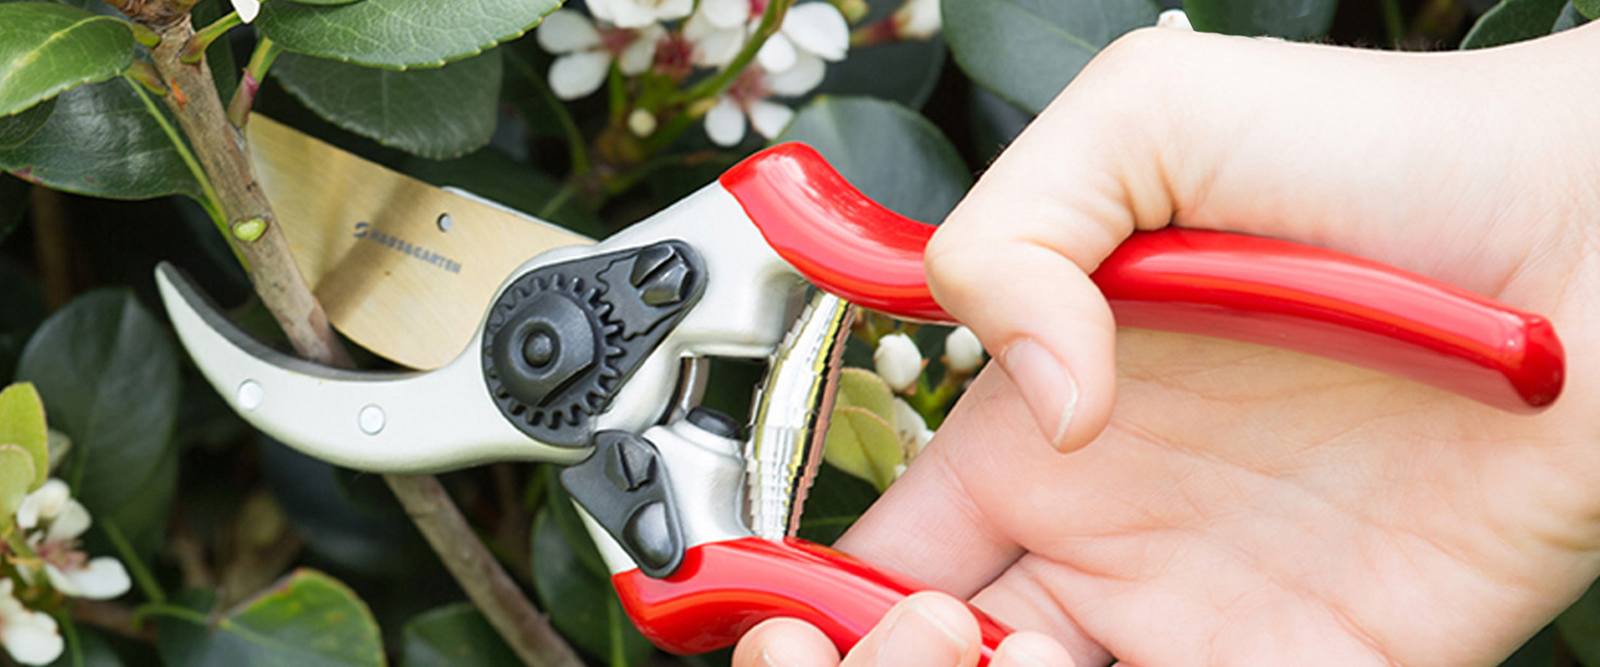
Hold the pruners in an open position so you can access as much of the blade as possible. Place the sharpener against the same angle of the existing beveled edge, applying medium pressure to the blade. In one smooth motion, drag the sharpener against the angle of the blade, starting from the base to the tip. Repeat the same action about 10-20 times, making sure to only sharpen in one direction.
Most pruners are only sharp on one side of the blade, leaving the other side flat. If that’s the case for your pruners, you will only need to sharpen the blade side. For other pruners, you will have to take care of the back side to remove any burrs and ensure that no jagged or rough edges remain. Using your sharpening tool, turn your pruners over and drag your sharpener down the backside of the angle. Repeat this motion a few times and carefully use your finger to check if you’re satisfied with the smoothness of the edge.
Over time, you might notice nicks and cracks on the blades of your pruning shears. This may be caused by frequent or intensive use. In this case, you may want to buy a replacement part, especially when the remaining pruner parts are still functioning well.
After Sharpening
Once the blades are cleaned and sharpened, you will need to lubricate the blade and the other moving parts of your pruners to prevent rust and grime build-up. Lubricate your pruners with a few drops of your preferred lubricating oil such as the WD-40, 3-in-1 oil, or mineral oil, and gently wipe the metal or steel parts, including the blades. Wipe off any excess oil with a dry rag. Make sure you store your pruners in a clean, dry place.
With a little care and time, you can easily restore your pruners to like new condition and ensure they remain sharp and reliable for a lifetime of use!